Showing posts with label fo2011. Show all posts

Tuesday, June 21, 2011

JustintimeforWinter Bandit

The magic of blocking lace never gets old.  Unlike my back, which feels it after a sustained period of bending over pinning lace onto a blocking mat.  Even when that blocking mat is up reasonably high, on my kitchen bench.  Heaven forbid if I ever have to block something huge on the floor!!
So this is the result of my most recent pain in the back!

Details
Pattern: Springtime Bandit by Kate Gagnon Osborne.  A very nice, easy lace shawl (and also free!).  Originally done in worsted weight yarn, but as I used fingering/4ply, I did extra repeats - it is very easy to add extra repeats, no need to do any recalculations for the edging or anything, just add the repeats until you are done, and start the edging.  A very good feature of shawl patterns I think, is the ease of adding extra repeats.  In this case, the pattern calls for 4 repeats of the body charts, while I did 7.  And ended up with a shawl about the size of the original, heh!
Blobby pre-blocking lace
Yarn:  Wollmeise 100% Merino, in Admiral.  Yes, another Week of Wollmeise project done!  (hmm, that makes 2 out of 7 complete.  Not really that much cause to celebrate, heh!).  I tried to use as much of the skein as possible, but found I had 32g left after binding off.  But not to worry, I don't think I could have gotten an extra repeat out of that much anyway.  Maybe it'll be enough for a wee pair of socks...

This is a gorgeous navy/black colour, it works so well for lace because it is so dark, but you still get a gorgeous depth of colour.  It's just hard to photograph well!
Sticks:  4mm KnitPicks Options.  I'm glad I chocse the nickel sticks for this yarn, it made it much easier to knit at night!

Time:  1 September 2009 (heh!) - 9 June 2011.  Despite this, it's actually a lovely quick knit!

Modifications:  Only the extra repeats, noted above. 
Inspired by Al, I took some lovely "Victorian Lace Today" style photos at the WWKIP on Saturday.  Love how the sun shines through the lace.  Nothing like it to make you feel like a clever knitter! 

And that's another long-term wip I can cross off the list! I started the year with 17 WIPS, and of those, I have 12 left - so that's nearly 1 per month done.  Let's hope I can keep it up for the rest of the year!

Sunday, June 05, 2011

For the maths geeks

Last weekend our parents group held a combined first birthday party for our babies (are they still babies once they are one?  I guess so, since he isn't a toddler yet, but he's just so much bigger than a newborn!).  I volunteered to make the cake:

and we also did a gift exchange, so I thought I'd make one of these:

And it was fun - mostly!

Details
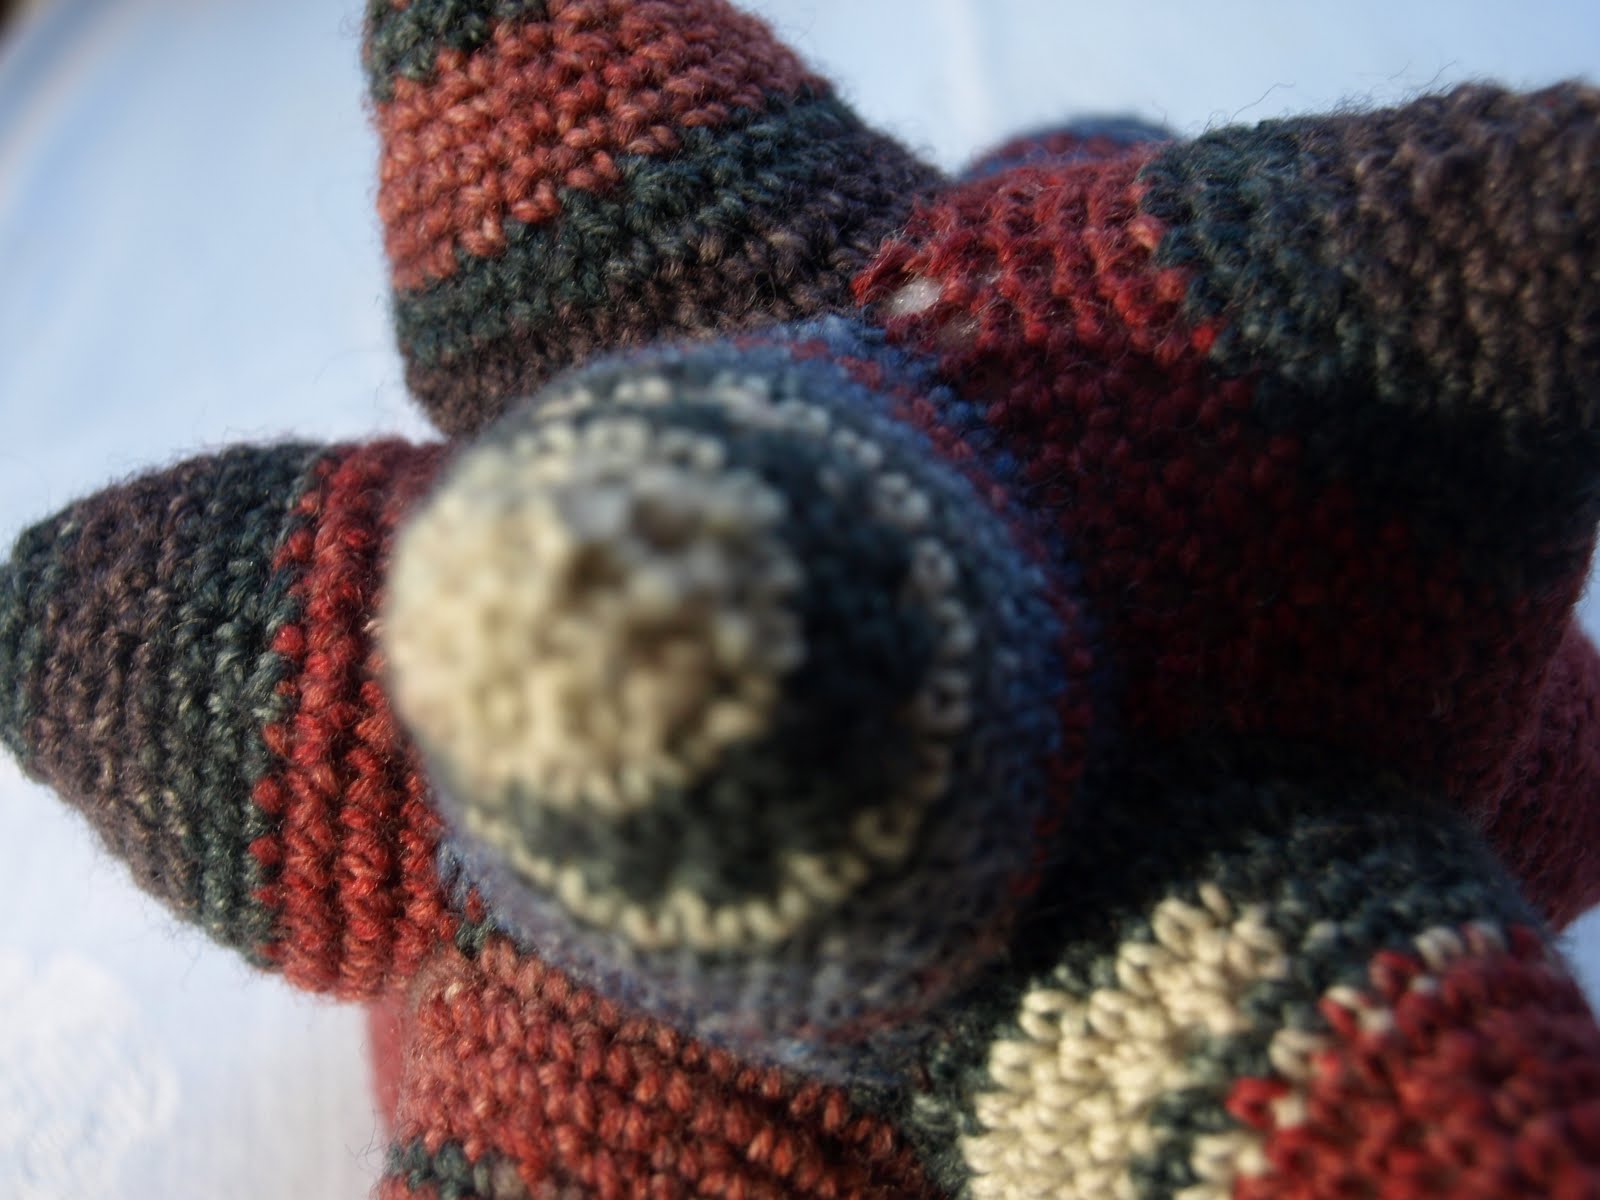
Pattern: Celestine Crochet ball by Betsy Myles - a free pattern, yay!  A few people complain on Ravelry that this is a bit of a confusing pattern, or not well written.  I think it's written fine - you start off with a chain loop and steadily decrease to the point, then add another point building on the last one (got to love a join-as-you-go project!), but I did have trouble starting off each new point, more because I kept forgetting how I got it started the last time.  I think I managed to get it right after I'd made about 8 or 9 of the points!  Oh dear!


Half done!
 So I took some pictures, so hopefully I will remember next time, because I would like to make another one, they are pretty fun, and unusual looking - it's a 12 pointed star, a sort-of dodecahedron!  I just like saying dodecahedron, really!

Foundation row for new point
Yarn: Opal 4ply sock yarn col 1232.  Only 32g, so you can easily get 3 of these from a ball of sock yarn.  Or possibly from leftovers, if you'd already made socks!  You can use any size yarn, it will just affect the size of the end product.

Hook: 3mm

Time: 20 May 2011 - 27 May 2011 - a week, not bad!  I think it took me around an hour for each point, with all the unpulling every time I started a new point and forgot how to join the darn thing so it didn't twist and was facing the right direction!

Modifications: I made the pattern as written, but rather than doing the chain first and then the crochet into the previous point(s), I did the crochet into the previous points first, then the chain.  For some reason, this was easier to work out the joining. 

There's also a small error in the pattern when starting the 11th point, you only do 7 chain, the rest are all crochet into previous points.

The last point was very fiddly, but I managed it ok.  When stuffing the ball, I also put in a cat toy to give the ball a "rattle".  I was worried the stuffing might muffle the noise, but it comes out nice and clear, without being annoying loud like some (many?!) kids toys!